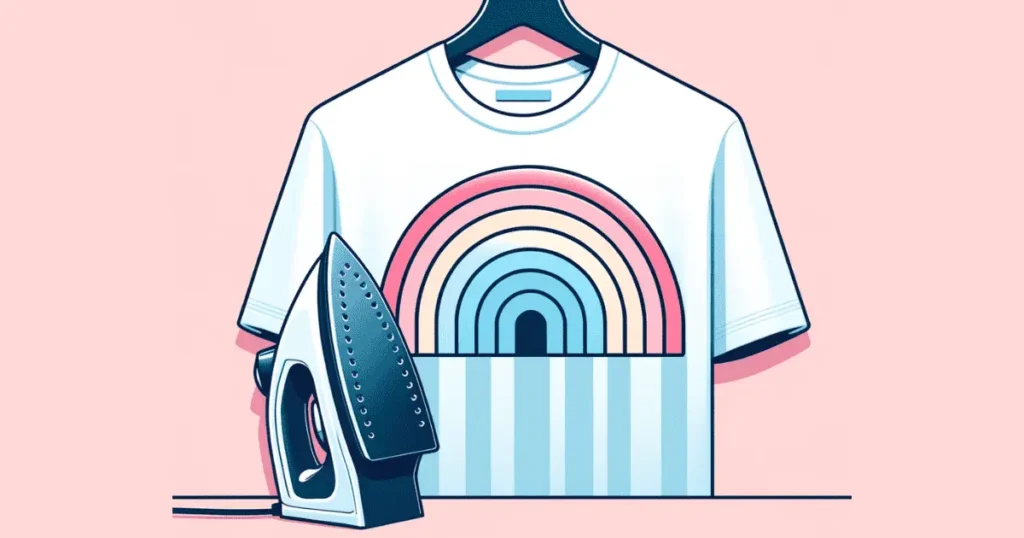
Can You Use an Iron for Sublimation?
Do you want to know if can you use an iron for sublimation? All of the information you require is provided. Read on.
Some of you who are into sublimation may be asking, “Can You Use an Iron for Sublimation?” Yes, It’s possible, but not as easy as with a heat press. Don’t worry, though; we got you. This article gives you a practical guide on the changes, techniques, and things you should think about if you want to try sublimation with a regular iron. Not only will you learn how to do it, but you’ll also learn the pros and cons of using this method instead of a regular heat press.
Key takeaways:
- Sublimating with an iron is doable but not as straightforward as using a heat press. It requires more precision and care.
- Achieving the right temperature and even pressure is crucial for successful sublimation with an iron. Home irons may not provide consistent results due to uneven heat distribution.
- Ensure your design is mirrored and printed on sublimation paper with sublimation ink. Use heat-resistant tape to secure the design to the fabric to prevent shifting.
- Best results are obtained with high polyester content fabrics (over 50%). Light-colored and white fabrics work best for vibrant designs.
- Using an iron is cost-effective and convenient for small, quick projects but may result in lower quality and less durable prints compared to a heat press.
Related Post: Can You Use an Iron Instead of a Heat Press
How the Iron Sublimation Process Works:
Iron sublimation is a scientific process that uses heat to turn sublimation dye into a gas that seeps into the structure of polyester fibers, skipping the liquid state. The way a regular home iron heats up makes the conditions needed for this change to happen. When sublimating with an iron, the best results come from fabrics that have a lot of polyester, usually more than 50%.
A regular iron, sublimation paper, and sublimation ink work together to make the sublimation process possible. The iron’s heat changes the sublimation inks into gases, which then solidify inside the cloth. This gives it a professional and long-lasting look. The transfer conditions are best when you use uncoated, white, and moisture-releasing sublimation-protected paper. This will help your projects turn out well.
Preparing Your Design:
Once you’re ready to use the iron on the fabric, your image should be ready for the sublimation transfer. Here are the steps you need to take:
- Don’t forget that sublimation drawings need to be turned around before they can be printed. This makes sure that they stick to the substrate properly.
- Print the mirrored image on sublimation paper with a sublimation printer and sublimation ink.
- Make sure there is no backing on the printed design, and let it dry completely before cutting around the picture.
Another important thing to think about in the planning stage is the size of your design. It needs to fit within the iron’s flat area. It is very important to keep the iron from having holes that could let heat escape unevenly and spread heat unevenly.
Putting protective paper under and over the drawing is the last thing that needs to be done before transferring. This keeps any ink from getting on the ironing board or surface by chance, making sure the transfer is clean.
Getting your Iron Ready:
A very important part of the process is setting up your iron for sublimation. Make sure there is no water in the iron and that the steam function is turned off before you start.
This keeps water from changing the results of the melting process. When it comes to temperature, the iron should be set to the largest setting. This creates the same conditions as a heat press, which gives the sublimation process the heat it needs.
After making the changes, if you have one, put the iron on a protected mat. Before you use it for the sublimation transfer, let it get to the highest temperature. How you set up your tools can make a huge difference in how well your sublimation projects turn out.
Preparing Your Material:
As soon as your iron is ready, you can start getting your fabric ready. Here are the steps you need to take:
- Put the thing on a hard surface that can handle heat.
- Use the iron to remove any wetness and wrinkles from the item first.
- Make sure the fabric you’re working with is white or light-colored and has a lot of polyester in it.
To make sure the sublimation copy works, do these things:
- Make sure the fabric is smooth and flat.
- You should not put your drawing over any folds or creases because it could leave white spaces.
- Place your pattern so that it doesn’t cover up any of the iron’s holes.
Use heat-resistant tape to stick the sublimation transfer paper to the base so it doesn’t move during the transfer process. These steps will help you find the best heat tape.
If you follow these steps, you’ll get a clean finish every time.
Related Post: Can You Sublimate a Tumbler Twice
Pros and Cons of Using an Iron for Sublimation:
It’s interesting to think about how can you use an iron for sublimation, but it also has some problems. For hobbyists, an iron might be a useful and inexpensive option for more expensive tools. Iron sublimation can also be used to make changes quickly and on demand when you can’t get to a standard heat press.
But is everything bright and lovely? Let’s look into it more.
Advantages of Iron Sublimation:
The main benefit of iron sublimation is that it saves money. Some people don’t have the money or room to buy a separate heat press. On the other hand, everyone has an iron, which makes it easy for anyone who wants to try sublimation to get one.
Iron sublimation also gives you the freedom to make changes whenever you want. Customizing things quickly and easily is very helpful, whether you need a gift idea at the last minute or want to work on a personal project on the spot. A heat press is great for last-minute sublimation projects because you don’t have to plan or wait for it to heat up.
Limitations and Problems:
Using an iron for sublimation has some benefits, but it also has some problems and restrictions. Some home irons don’t have exact temperature settings or even heat that is spread out evenly, which is important for sublimation to work. Standard irons also make it hard to apply even pressure across the whole pattern, and because they only have a small surface area, they limit the size of sublimation projects.
Use of iron for sublimation can lead to:
- Poor picture quality and durability
- More time to process
- Because home irons don’t have built-in timers, it’s hard to get the exact pressing times needed for quality transfers.
- For sublimation, it is best to use a heat press to get sure effects.
Related Post: Can you Sublimate on a Baseball
Strategies for the Successful Sublimation of Iron:
Regardless of the difficulties, it is not impossible to achieve successful iron sublimation. It is entirely possible to produce stunning sublimated items using a domestic iron, provided that one applies the technique with accuracy and attention to detail.
The following are some essential recommendations to optimize your iron sublimation attempts.
By Applying Pressure and Heat:
For iron sublimation to work, the right amount of heat and firm pressure must be used, and even heat spread is a key part of this process. Using heat-resistant tape or heat tape, the pattern must be firmly attached to the base.
This stops the object from moving while heat and pressure are applied, making sure of a clean transfer. For best results, the heating element should evenly distribute heat, and temperature control is necessary to keep the heat levels where you want them to be.
To use a move correctly, do these things:
- Press the iron flat against the paper.
- To make sure the heat is spread evenly, keep the medium pressure for about 60 seconds without moving.
- Place a protective mat under the move.
- During the transfer, put protective paper under and on top of the base so that the ink doesn’t run onto other surfaces.
Cooling and Finishing Strategies:
Let the thing cool down after you’ve heated and pressed on it. This is a very important step because it makes sure the dyes stick to the fabric or base correctly. Setting the iron away and waiting for the sublimated item to cool to a safe level before touching it is the next step.
As soon as the sublimated item is completely cool, the heat transfer paper or Infusible Ink sheet can be carefully taken off to see the finished image. This exciting moment shows off the hard work you put into making a design that looks lasting and professional using only your home iron.
Related Post: How Long Does Screen Print Last
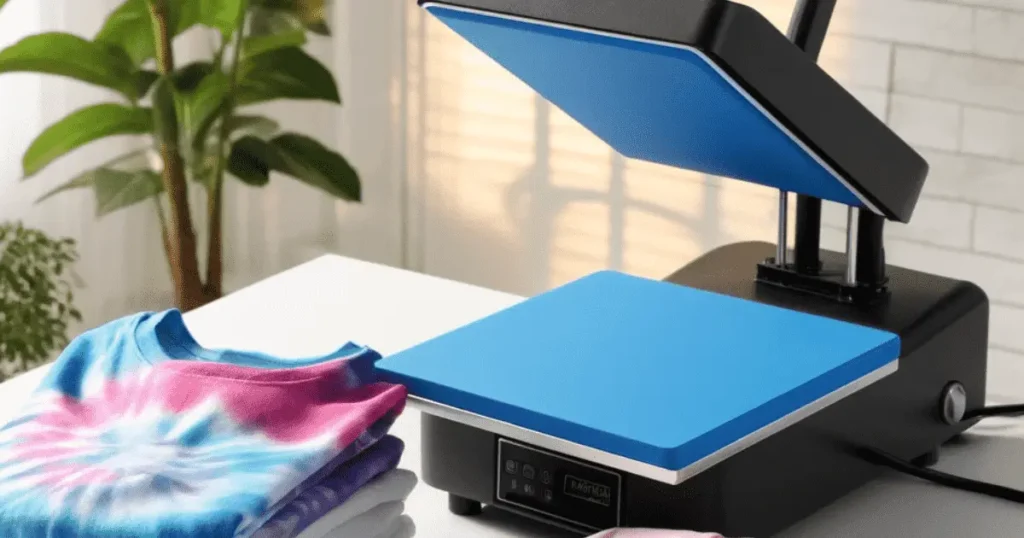
A Side-by-Side Comparison of the Heat Press and the Iron:
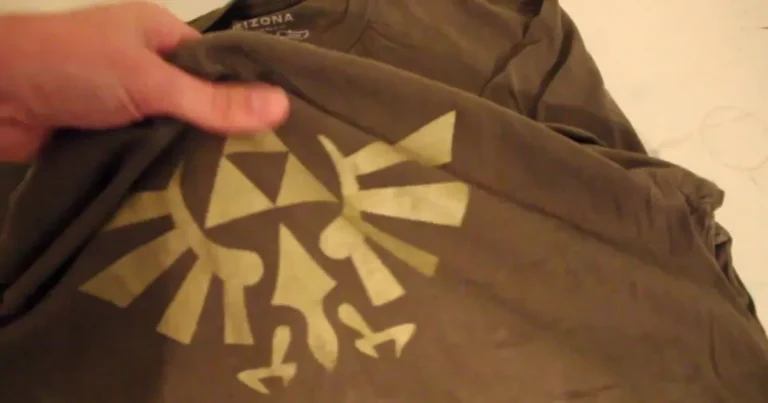
So, how does iron sublimation compare to using a heat press? Both the iron and the heat press successfully transferred designs in our tests. However, when sublimating with an iron, a few areas were not as dark, indicating somewhat less effective transfer compared to the heat press.
The iron and heat press results show a clear difference in color vibrancy and overall quality, with the heat press yielding more vibrant colors compared to the iron pressing’s faded outcomes. This distinction is something to consider when deciding between these two methods.
Selecting Suitable Sublimation Devices:
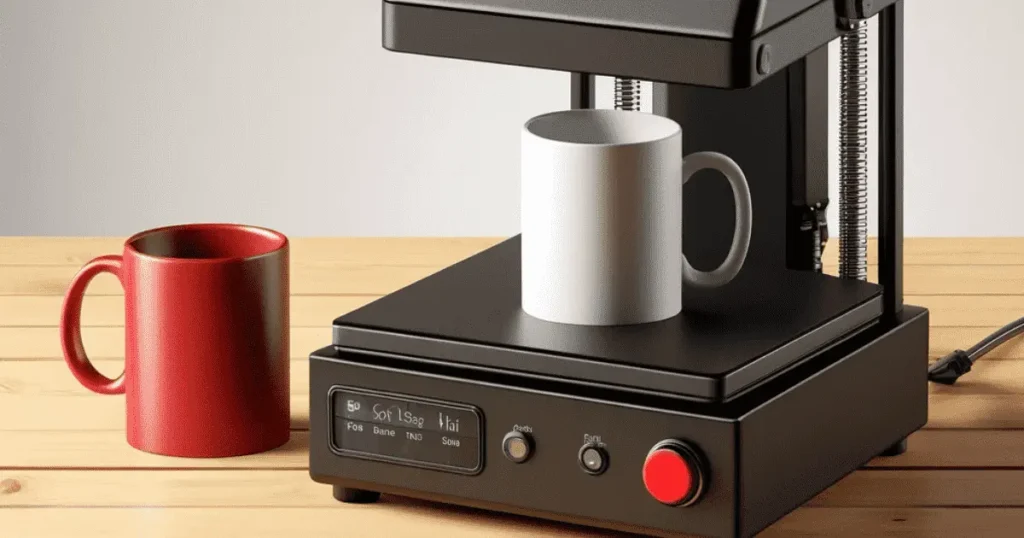
It is very important to choose the right tools for your sublimation needs. There are different kinds of sublimation tools, such as:
- Old-fashioned heat tools that work great for flat items
- Specialized mug makers that stand alone
- Flexible convection ovens for round things
- Smaller jobs can be done with portable presses like the Cricut EasyPress.
Things to think about when choosing a sublimation printer are:
- Best pen available
- The right place to print
- Simple set up
- What’s good and bad about cartridges and large ink units
Advanced printers like the HP Stitch S500 are great for printing a lot of pages. Always make sure that the tools you buy fit the size and needs of your business.
Suitable Alternates for Iron Sublimation:

Iron sublimation can be done on many different kinds of materials. For bright, long-lasting colors, iron-on sublimation works best on white or light-colored fabrics that have a lot of polyester in them. Polyester is a good fabric for dye transfer because heat can open up its polymers.
Not only polyester can be transformed with an iron, but so can nylon, rayon, and acrylic, though only under certain conditions. For a vintage look, blended materials with at least 50% polyester can be used because the ink only sticks to the polyester fibers.
You can sublimate small, flat things like bracelet charms, keychains, mousepads, or pet tag inserts with a home iron as long as you press them carefully.
Related Post: Can You Put Epoxy Over Sublimation
Bottom Line: Can You Sublimate with an Iron
In the end, sublimation with iron creates an infinite variety of do-it-yourself opportunities. For beginners and on-demand customizing, this is a reasonably priced and accessible substitute even if it might not produce results as vivid as those attained with a specialized heat press. Beautiful, professional-looking designs right from the comfort of your house may be created with careful application, attention to detail, and appropriate materials.
FAQ
Last Updated on June 5, 2024 by Muhammad Haseeb