How to Print Sublimation Images at Home
Do you want to know how to print sublimation images at home? All of the information you require is provided. Read on.
A lot of artists buy pre-printed sublimation transfers to print, but shipping costs can add up if you don’t buy them in bulk or from a nearby store.
If you’ve started making your designs or if you pay for a collection of designs, you might want to get your printer for printing at home.
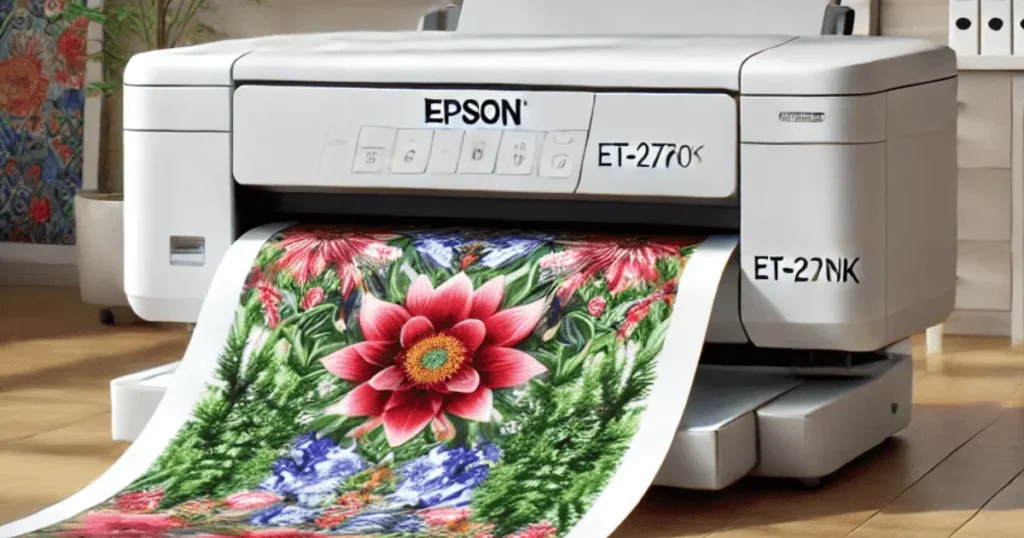
To print sublimation images at home, you will need special paper, a sublimation printer (or an inkjet printer that has been changed to work with sublimation), and software to print your design. Flip the image around so that any letters are facing the wrong way. On paper, colors will look dull, but when they are heat-pressed, they will look brighter.
You will need a few things to do this. One is software that lets you send the image to a printer from your computer.
Related Post: How to Sublimate on Leather
Software:
Things can be easy here. You can even copy and paste the picture into a document like Microsoft Word and then print it from that.
But you might need graphic design tools to change anything about the design, like adding text or making it fit a template.
You may already have or be able to get a free choice that works well for this. You can change the size or edit a drawing in Canva, Cricut’s DesignSpace, or Adobe Illustrator.
Each of these programs has its quirks that rely on what it’s meant to do. If you already use one of these programs for other crafting projects, check to see if you can also use it for sublimation designs.
For a good print, your end image should have a resolution of 300 dpi, which means 300 dots per inch.
Related Post: Can You Sublimate On Leather
Choosing Images for Sublimation:
The first thing you need to do to make sublimation images is choose the right image. But how do you know which one will work best when there are so many on the internet and in-stock picture sites? Figuring out what you want to achieve is the key. What effects do you want? Do you want to make colors stand out or something more subtle? Would you like a surreal pattern or something that looks more like real life?
Getting answers to these questions can help you choose. In case you’re not sure if a picture has enough contrast, try making some changes before you decide. You can also try out different filters, like making some parts of the picture less bright while bringing out the colors in others. It should be pretty easy to find the right picture if you are patient and creative.
After choosing the pictures you want to print, it’s time to start getting them ready. By following simple design rules like fixing colors and making sure the quality is just right, you can be sure that every print looks its best and get ahead of the competition!
Related Post: Best Sublimation Printers
Image Preparation for Printing:

To get a great sublimation print, you must prepare the images for printing. To begin, you will need an image-editing program that can change the file’s style so that it can be printed. Second, make sure your picture has the highest resolution and clarity possible. This will help the colors look bright when you print them.
To correctly set up sublimation images:
- Change the file’s size or shape as needed.
- Change the amounts of brightness and contrast as needed.
- Instead of RGB, change to CMYK mode.
- Make any other changes that are needed.
- Last but not least, make sure you save the file in its original version before you try to print it.
This helps keep the quality high and keeps your printer’s software from having problems. Once you’ve done these things, you should be able to take beautiful pictures! Now it’s time to pick out the right printer and ink for your job.
Related Post: How to Sublimate on Leather
Selecting Ink and Printers:

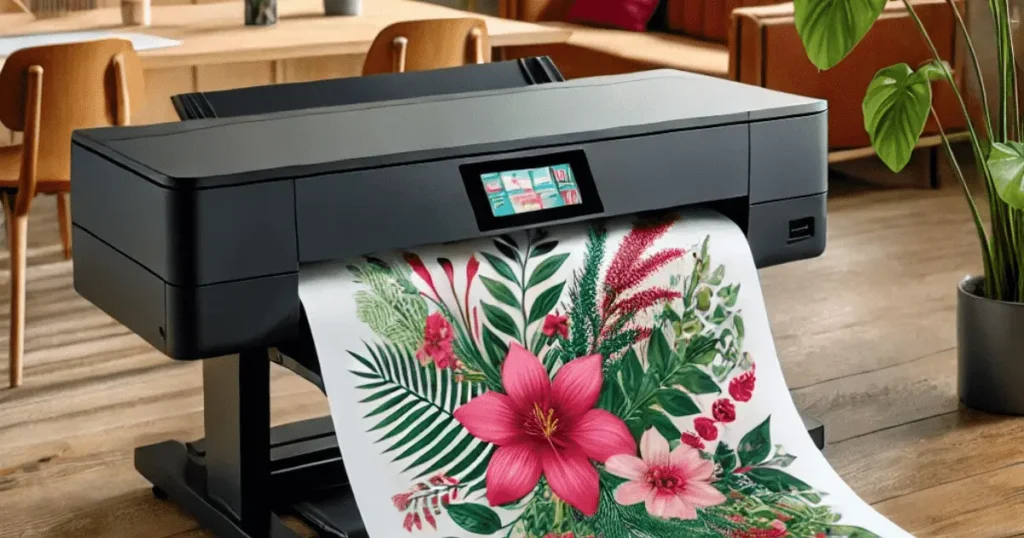
For sublimation printing, picking the right printer and ink is important for making pictures that are bright and last a long time. It is important to find a printer that can adapt to your needs as they change over time. This means that when choosing a model, you should consider price and quality.
When choosing ink, you should think about the print resolution, how long the picture will last, and other things like color accuracy or saturation levels. When compared to other types of ink, sublimation ink is carefully made to make sure it can handle high temperatures during transfer processes without losing its color or clarity.
You should pick an ink that won’t fade so that your prints look good even after being used for a long time.
There are a lot of things to think about when picking between models and ink types. Reading reviews from other artists who have used similar goods may help you narrow down your choices. By giving all of these things careful thought, you can be sure you’re making the best choice for your setup! We are now getting ready to set up our printer for sublimation printing!
Related Post: How To Convert HP Printer To Sublimation Printer
Setting up the Printer for Printing Sublimation:
To make beautiful sublimation images, you must first make sure that your printer is set up properly. The process may take some time, but it’s well worth the time!
To begin, you will need sublimation ink cartridges and paper that are made just for this kind of writing. You should also make sure that your printer is set up correctly. For example, the print mode should be “photo” or “sublimation,” the resolution should be “high,” and the color management should be set to RGB.
As soon as you’ve taken care of these issues, you can begin making beautiful prints with lots of colors and fine details. This is all because you carefully planned! Now comes the fun part, making those bright sublimation pictures!
Related Post: How Long Does Sublimation Ink Last
Putting Sublimation Images on Paper:
You’ve now set up your printer for sublimation printing. Now it’s time to give your customers those bright pictures. It takes skill to print with sublimation, but once you know how to do it right, you’ll be making prints in no time! Here are five steps you can take to make beautiful prints:
Step 1:
Get the picture ready and put it on a sheet or roll of copy paper. Make sure that the transfer paper you have is the right size and shape for your job.
Step 2:
Put the transfer paper into your printer just like any other type of media, making sure to follow all of the manufacturer’s instructions.
Step 3:
Print the picture using the settings on the drawing software. Before you click “print,” make sure these settings are correct!
Step 4:
Once the print is done, put the material you want to print on onto a heat press machine at the temperature recommended by the machine’s maker.
Step 5:
Put the transfer paper face down on the substrate material and press firmly with a heat press, making sure to apply even pressure across the whole surface. This will make sure that the ink on the transfer paper sticks to the substrate material below it properly. Be careful not to move too quickly, though, or the quality could suffer.
For the process to work, each step must be done exactly as it should be. Be careful not to damage the transfer papers or media while handling them. We’re almost done with these five steps and can finish printing our pictures!
Related Post: How to Wash Sublimation Shirts?
Finalizing Printed Images:
After printing out your sublimation pictures, they need to be finished so they look their best. To get the most out of your files, try these tips:
1) Buy a Good Laminator:
This will not only protect your prints from smudges and scratches, but it can also add another layer of color to the picture to make it stand out.
2) Cut off Any Extra Paper:
Paper trimmers are quick and easy ways to get rid of any ends or pieces that don’t belong or take away from what you’re trying to show.
3) Putting Your Work in a Frame:
Frames come in many styles and sizes, and they can make your work stand out. They also look great when you hang them up!
It doesn’t matter how hard you work to make sublimation images look great; there is no replacement for good finishing touches. By doing a few easy things after printing, you can make sure that your works stand out even more by giving them the best protection against damage from the outside world and making them even clearer and more defined.
So don’t forget these useful finishing tips if you want to give your prints that extra something!
Related Post: Can You Sublimate On Modal Fabric
Sublimation Design Printing: Additional Tips and Tricks:

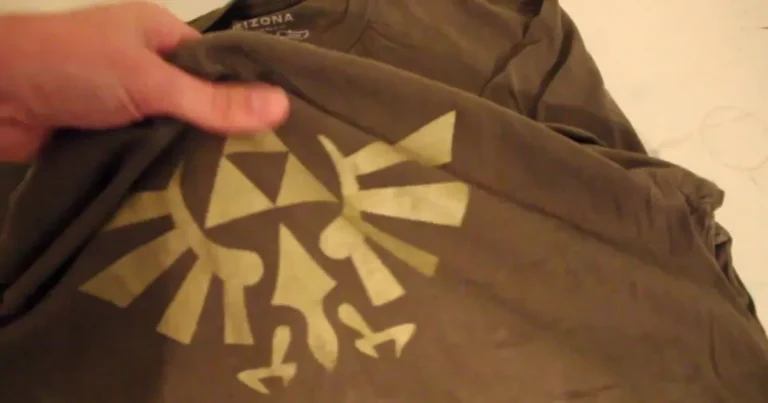
- On paper, the colors may look dull, but when they are heat-pressed, they will look bright.
- To save ink and get the right size, print a test page on your regular home printer.
- If the colors look dull or uneven, change the temperature and pressing time.
- When sublimating on a flat surface, use a silicone rubber mat.
- Use heat-resistant tape and brown paper to protect your work area.
- Use thermal tape to hold the sublimation sheet in place to stop “ghosting prints.”
- For each medium, pay close attention to how the time and temperature are set.
Related Post: Can You Sublimate a Tumbler Twice
Bottom Line:
Printing sublimation images is a great way to make one-of-a-kind things that stand out. Anyone can make prints that look like they were made by a professional with the right tools and practice.
First, picking the right pictures for your job is very important if you want to do good work. When you print it at a high quality, it needs to look good.
Before sending those files to be printed, they need to be ready by making sure they are in the right style and size. After that, pick out a printer and ink. Sublimation printers need specific kinds of ink, so make sure you have supplies that work with your printer before you start printing.
Lastly, it’s important to make sure your printer is set up properly for sublimation prints to work. You can start printing as soon as you put everything in its place. When you are done with all of your pictures, you might want to add any finishing touches you like, like laminating or frames. You’re now ready to enjoy your lovely work!
FAQ
Last Updated on June 22, 2024 by Muhammad Haseeb