Can You Sublimate On Burlap?
Do you want to know that can you sublimate on burlap? All of the information you require is provided. Read on.
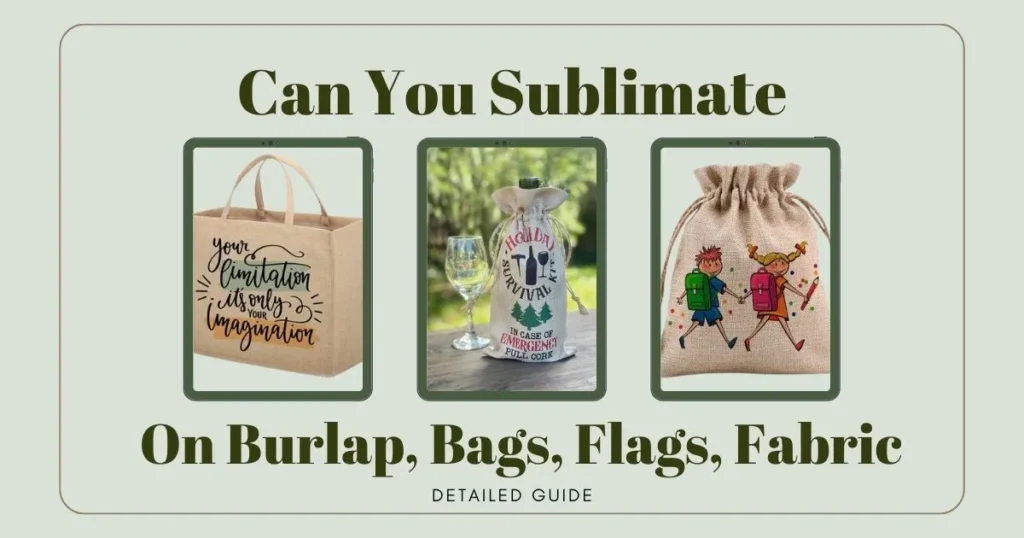
People are becoming more and more aware of good looks over time. A lot of moms, business owners, and shoppers want sublimation patterns on the things they want to use every day.
Sublimation printing can be used on clothes, water bottles, modal fabrics, burlap items, and more.
Can you sublimate on burlap? Yes, you can sublimate on burlap, but it requires some preparation. Choose high-quality, tightly woven burlap and ensure it’s clean and dry before starting.
Use a heat press with appropriate temperature and pressure settings, and consider using lighter ink colors for better visibility on the natural brown fabric. For the best results, you may also apply a polyester coating to the burlap.
It is used to make bags, bands, sacks, and flags because it is strong and lasts a long time. By sublimating these things, you can make them look better.
Related Post: Best Sublimation Printers
Key Takeaways:
- Choose high-quality burlap with a tight weave to prevent ink bleeding and ensure a clear sublimation print.
- Wash the burlap to remove dirt, but be cautious as some types may lose shape. Test a small area first.
- Use lighter colors for better visibility on natural brown burlap and adjust design expectations for a rustic, distressed look.
- Use a heat press with temperatures between 375°F and 400°F, medium to low pressure, and ensure the burlap is dry before pressing.
- For vibrant, full-color designs, consider sublimating on polyester fabric first and then attaching it to the burlap.
Important Factors to Consider Before Sublimation on Burlap:
For good and satisfactory results, there are a few important things to keep in mind before sublimating on Burlap:
Quality of Burlap:
There are different types and qualities of burlap. Some types of burlap have a loosely woven structure that makes sublimation printing impossible because the ink would bleed out.
So, make sure the burlap cloth you are using is of good quality.
Also, make sure there are no spots, tears, or loose threads that might get in the way of the sublimation process or change the design.
The Pre-Wash:
If you can’t afford a new blank, you can use your cloth bag or sack instead.
For this reason, the cotton cloth should be washed first to get rid of any size or dirt that might be on it.
But some types of burlap might lose their shape when they’re washed, so it’s best to test a small area first.
Few Colors to Choose From:
The natural color of the burlap cloth is brown, which can change how the sublimation print looks in the end. So, pick sublimation ink that goes with the color of the Burlap, or pick lighter colors that stand out more on darker Burlap.
Sublimation-Printable Burlap Products:
You can use burlap for many things because it is strong and lasts a long time. It can be turned into bags and sacks that can be used to store and move things like coffee beans, potatoes, grains, and other farm goods.
Because it looks natural and worn, burlap is often used for crafts, home art, and do-it-yourself projects like making flags out of it.
Pillows, curtains, and other home art items with a unique look can be made from burlap.
Many people like to use burlap because it looks natural and is good for the environment. It’s especially popular in crafts, eco-friendly packaging, events, and decorations with a country theme.
Related Post: Why Is My Sublimation Printer Printing Lines
How to Sublimate on Burlap?
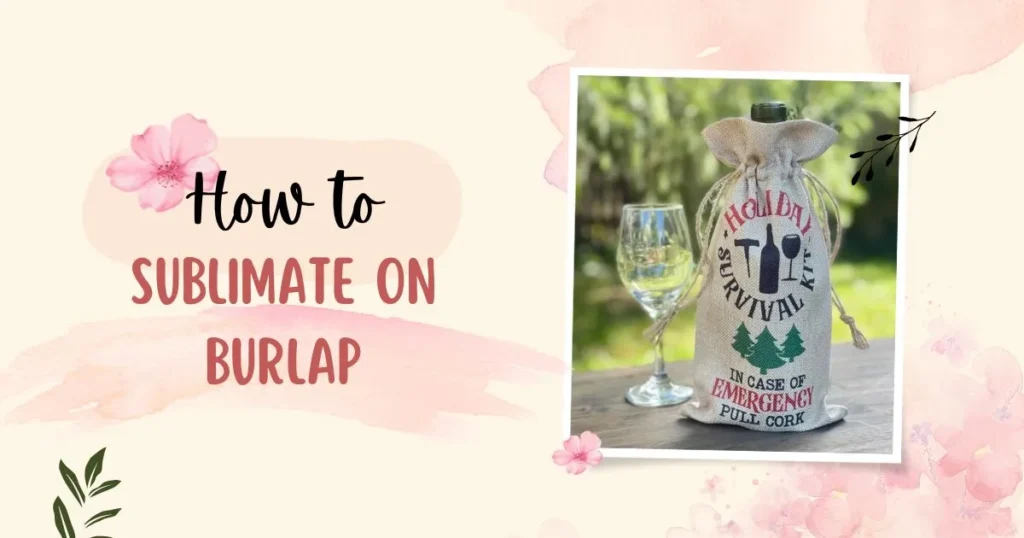
Step 1) Get The Things You Need:
Make sure you have all the items you need ready before you start sublimating Burlap. These things are what you will need:
- Press heat
- Printer for sublimation
- Transfer paper for sublimation
- Tape that can handle the heat
- Burlap (Bag, Sack, Ribbon, Flag) and
- A piece of protection
Step 2) Sublimation Image Design:
Turn on your computer and either make a pattern or choose one that you want to put on the burlap. You can find a lot of software online, like Canva, that can help you make beautiful sublimation drawings.
But make sure the pattern is the right size for the burlap piece.
Step 3) Print the Picture on Sublimation Paper:
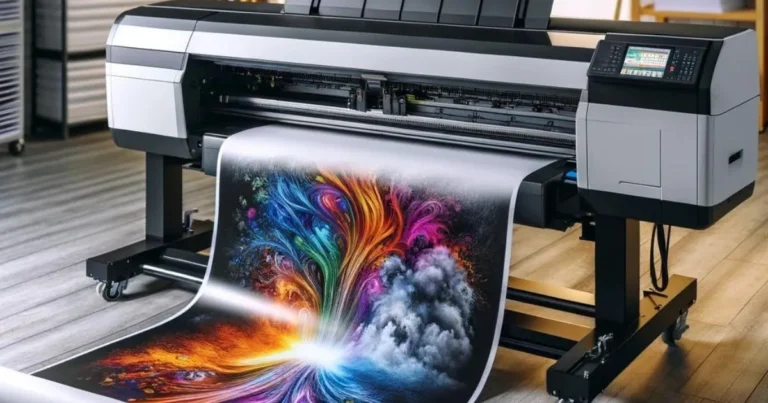
To print your design on sublimation paper, send a copy of your design to a sublimation printer after you’re done with it.
In the meantime, make sure there is enough sublimation ink and that the printing choices are correct to get great results.
Step 4) Burlap Substrate Pre-Pressing:
The Burlap blank is less likely to have wrinkles on the surface, but ironing it gets rid of small lines. Pre-pressing gets rid of wetness and wrinkles, making sure the surface is smooth for sublimation.
Step 5) Warm Up the Heat Press:
Let the heat press warm up for a while after you turn it on.
It is usually best to print on burlap when the temperature is between 375°F and 400°F (190°C and 205°C).
But the exact temperature might change depending on the burlap cloth’s type and quality.
Step 6) Place Sublimation Transfer Paper on Burlap Blank:
Once the surface is smooth, carefully put the sublimation paper with the image on it on top of the burlap fabric. After measuring how big the cloth fabric is, put it in the middle.
Also, use heat-resistant tape to hold the design paper in place so it doesn’t move during the transfer process. Now, pick up this set and put it on the Heat press’s lower surface.
Step 7) Use Sublimation Paper to Press the Burlap:
Put the heat press away and begin the sublimation process. The heat and pressure will turn the sublimation ink on the paper into gas. This gas will then pass through the burlap fabric and leave the image there permanently. Also, make sure the pressure is between medium and low.
Step 8) Eliminate Heat Press and Peel Paper:
Carefully open the heat press and take out the burlap with the sublimation paper. This should be done after the time you set for the sublimation process is up. The cloth and paper will be hot, so be careful.
Step 9) Cool the Burlap:
Once the writing on the blank burlap has been sublimated, lay the sublimated burlap out flat and let it cool. The sublimation ink will stick to the cloth very well this way.
Now, choose the Burlap and look over the end print for any mistakes. Keep the finished item in a safe place or give it to the customer if necessary.
Related Post: Can You Sublimate on Cardstock?
Tips For Burlap Sublimation:
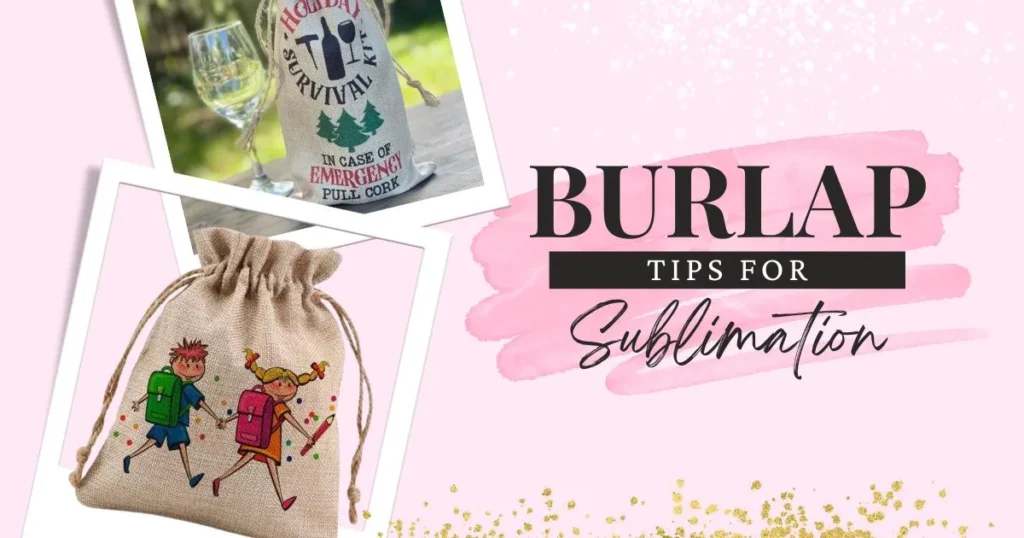
Here are some tips that will help you get better results with burlap sublimation:
Cover it with polyester:
Putting a thin layer of polyester on top of the cloth makes a smooth, non-porous surface for the dye to stick to. Since natural burlap strands absorb differently, the polyester burlap for sublimation gives the sublimation ink something to stick to.
Look for custom burlap that has already been treated on one side so that it can be sublimated. Or, you can use a spray treatment for fabrics like PolySpray.
If you want the picture to show through the weave, make sure to cover both sides of the burlap.
The covering should be fragile so that the texture of the cloth stays the same.
Dry the Burlap:
You must make sure the burlap is fully dry before you try to sublimate it.
During the heat pressing process, any water in the fibers will turn into steam, which will stop the dye from working properly.
When the cloth is damp, it forms a barrier that stops the dye from moving.
After getting the burlap wet, hang it up to dry and let it dry completely in the air. To get rid of any remaining wetness, use high heat on your heat press.
Before sublimating, press down hard on the weave with an iron to smooth it and get rid of any moisture.
Use a Lot of Heat and Pressure:
To get the dye into the threads of burlap as deeply as possible, you need to use a lot of heat and pressure.
The heavy pressure of at least 40 PSI at 400°F for 60 seconds is what you should set it to.
When heat and pressure are applied together, they make the dye gasify and push through the weave better. If you want the dye deeper into the burlap, you might need to try even higher temperatures and pressures.
Just be careful not to burn or scorch the cloth.
Expectations for Design:
What you get when you sublimate cloth looks more like faded and splotchy distressed printing. The dyes won’t soak through, they’ll just partly stick to the surface.
So change your standards for design and color to match.
Don’t use photographs in your prints; instead, use shapes and writing. It works best to only use one or two types of ink.
Also, don’t expect clear, even prints like you would get on polyester.
Get a rustic and retro vibe!
Related Posts: Sublimation On Glass
Options Besides Direct Sublimation on Burlap:
This is what you can try if sublimating straight on burlap doesn’t give you the look you want:
- First, sublimate a polyester cloth, and then stick it to the burlap. This lets the dye fully and brightly infuse.
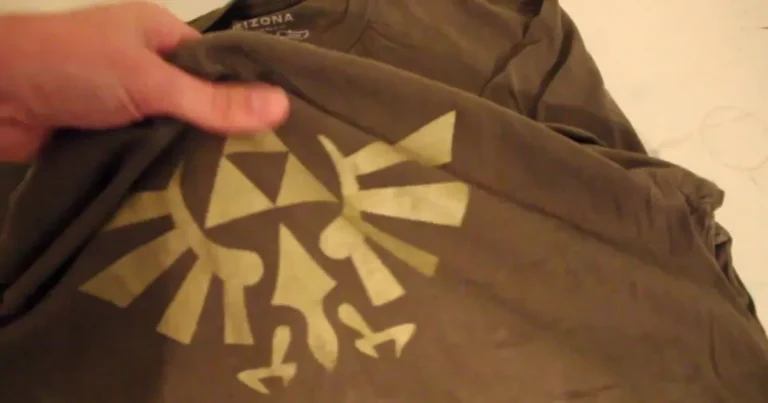
- Don’t try to sublimate; instead, use stencils and bleach to make patterns on burlap.
- Use standard fiber-reactive dyes to color the burlap. Then, add distressing.
Burlap looks good with worn prints and flaws because it has a natural, fibrous look. Don’t be afraid to try different things until you find the tired look you like.
Related Post: Can You Sublimate On Modal Fabric
Bottom Line: Can You Sublimate On Burlap
Yes, It is possible to sublimate on burlap, but it is not easy.
The fabric’s spongy surface and ability to soak up water keep the dye from sticking well. You can get good results, though, if you do some work ahead of time, like pre-coating and drying the cloth.
But try to stick to single-color drawings and prints that look old.
If you want full-color patterns, sublimate a polyester fabric separately and then stick it to the burlap.
With a little practice, you can use sublimation on this natural cloth to make cool prints that look worn.
FAQ
Last Updated on May 19, 2024 by Muhammad Haseeb

